How-To
How to Pull an Espresso Shot at Home
The repeatable method behind a good shot: dose, grind, distribute, tamp, and target a 1:2 ratio in 25 to 30 seconds — then read what came out and adjust. Plus the basics of steaming milk.
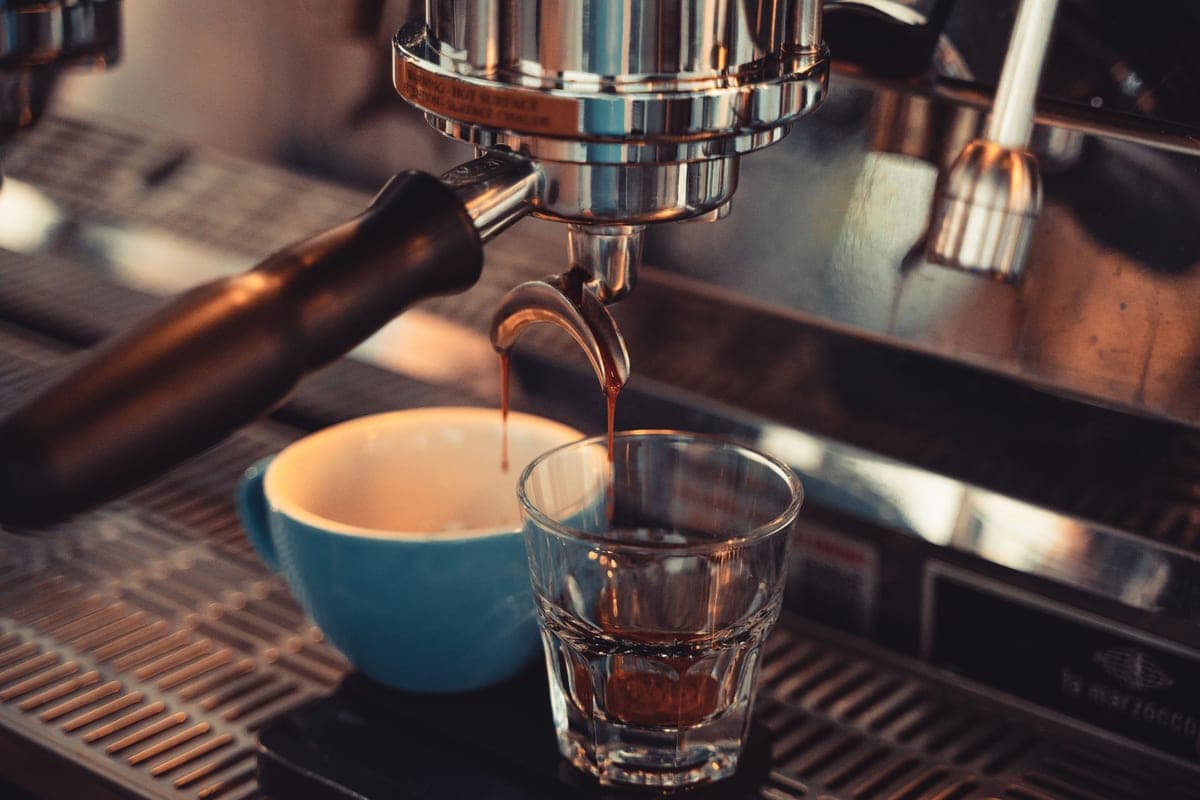
Pulling espresso looks fussy, but it's really just a repeatable recipe with three variables: how much coffee goes in, how much liquid comes out, and how long it takes. Nail a consistent process and you can taste a shot, change one thing, and make it better — which is the whole skill. This walkthrough gives you a sane target, the exact steps, and how to read what landed in the cup so you can dial in fast.
The target recipe
Start every beginner here. This is a standard double shot and a forgiving baseline you can adjust from once you know what your beans and machine want.
| Dose (coffee in) | ~18 g (a standard double) |
|---|---|
| Yield (espresso out) | ~36 g liquid |
| Ratio | ~1:2 (dose : yield) |
| Shot time | ~25-30 seconds |
| Grind | Fine (finer than table salt) |
| Water temperature | ~200 °F / 93 °C |
Read that as: put in about 18 grams, aim to get out about 36 grams of espresso, and expect it to take roughly 25–30 seconds from the moment the pump starts. Weigh both numbers. The exact basket size on your machine may want a little more or less — check what basket it came with — but 18 g in, 36 g out is the classic starting point. Our how many grams for a double shot guide lists the dose by basket diameter and shows how to confirm yours from the screen imprint.
Two things matter most: the grinder and a scale
Before technique, hardware. Espresso lives or dies on the grind. It has to be fine, even, and adjustable in tiny steps, and only a real burr grinder delivers that — a blade grinder cannot pull espressobecause it can't make a uniform grind. If your shots are inconsistent no matter what you do, the grinder is the usual suspect. Start with the best grinders for espresso.
The second essential is a scalethat reads to 0.1 g. Espresso is a ratio, and you cannot manage a ratio you don't measure. Weighing your dose in and your shot out turns guesswork into a recipe you can repeat and refine. If you buy one accessory, buy the scale — do I need a scale for espresso works through why, and how to tamp espresso covers the step most people over-think instead.
Pulling the shot, step by step
- Heat everything. Let the machine reach temperature and, if you can, warm the portafilter and cup. Cold metal steals heat from the shot. Flush a little water through the group head to stabilize the temperature.
- Dose ~18 g into a dry basket. Grind fresh, straight into the portafilter, and weigh it. Wipe any grounds off the rim so the basket seats cleanly.
- Distribute the grounds.Level the bed so it's flat and clump-free. A WDT tool (fine needles stirred through the grounds) or a distribution tool breaks up clumps — this is how you prevent channeling, where water bores a hole through a weak spot and ruins the shot.
- Tamp level, with firm, even pressure.Press straight down to compress the puck flat and level — a tilted tamp makes a tilted, uneven shot. Consistency matters more than crushing force; the same firm press every time is the goal.
- Lock the portafilter in and start immediately.Seat it firmly in the group head and begin the shot right away — don't let the packed coffee sit against the hot group head, which scorches it.
- Pull to ~36 g and watch the clock.Put your cup on the scale, start the pump, and stop when you reach about 36 g of espresso. It should take roughly 25–30 seconds. The first drops appear after a few seconds, then flow in a steady, thin, honey-like stream.
- Taste it. Then read the shot (next section) and adjust one variable for the next pull.
How to read the shot and dial in
The beauty of weighing everything is that when a shot tastes off, the numbers tell you what to change. The primary dial is grind size. Keep dose and yield the same and adjust grind one notch at a time.
| What happened | What it means | The fix |
|---|---|---|
| Shot ran fast (< ~20s), thin, pale, tastes sour | Under-extracted — water rushed through | Grind finer |
| Shot ran slow (> ~35s), dark, drippy, tastes bitter/harsh | Over-extracted — water crawled through | Grind coarser |
| Sprays, squirts or blonds unevenly | Channeling — uneven puck | Redistribute and tamp level |
| Right time (~25-30s) but tastes flat | Ratio or beans | Adjust yield slightly, or try fresher beans |
Two rules keep dialing sane: change one variable at a time, and grind is your main lever. If a shot is sour and fast, grind finer to slow it down; if it's bitter and slow, grind coarser to speed it up. For the full symptom map on bitterness specifically, see why is my espresso bitter; for the opposite fault, why is my espresso sour. Keep the grind size chart nearby.
Steaming milk: the basics
If you want a latte, cappuccino or flat white, milk texturing is the second half of the craft. The goal is microfoam— glossy, paint-like milk with tiny uniform bubbles, not the stiff dry foam of a diner cappuccino.
- Start cold. Use cold milk in a cold stainless pitcher, filled about a third full to leave room for expansion.
- Stretch, then texture.With the steam wand tip just under the surface, introduce air for a couple of seconds — you'll hear a gentle hiss (the "paper-tearing" sound). Then sink the tip slightly to stop adding air and set the milk spinning in a whirlpool to break down bubbles.
- Stop at about 140–150 °F / 60–65 °C— hot to the touch but not scalding. If you don't have a thermometer, stop when the pitcher gets almost too hot to hold.
- Groom and pour. Tap the pitcher to pop large bubbles, swirl to keep the milk glossy, and pour into your shot.
Steaming by hand is a skill worth learning, but if you'd rather the machine do it, an automatic steam wand (as on some beginner machines) textures milk for you. Either way, a good shot underneath still matters — milk can't rescue a bad extraction.
How to practice without wasting a fortune
Your first shots will be bad. Everyone's are. Change one thing per pull, keep quick notes (dose, yield, time, how it tasted), and you'll converge on good espresso within a bag or two. Buy cheaper beans for those early "tuition" shots, weigh everything, and resist the urge to change three variables at once when a shot disappoints.
Once pulling a shot feels automatic, the rest of the hobby opens up: better beans, better grinder, milk art. Start with the best coffee beans for espresso, and if consistency is still fighting you, upgrade the grinder before anything else.
Two decisions sit underneath this method: single shot vs double shot settles which basket to use, and how many grams for a double shot settles the dose.
Frequently asked questions
What is the ideal espresso ratio and shot time?
A good starting point is a 1:2 ratio — about 18 grams of coffee in, about 36 grams of espresso out — pulled in roughly 25 to 30 seconds. Weigh both the dose and the yield with a scale, and use shot time as feedback: too fast means grind finer, too slow means grind coarser.
Why does my espresso run too fast or too slow?
It's almost always grind size. A shot that gushes out in under 20 seconds is under-extracted and tastes sour — grind finer to add resistance. A shot that crawls past 35 seconds is over-extracted and tastes bitter — grind coarser. Change grind one notch at a time and keep your dose and yield constant.
Do I really need a scale to pull espresso?
Yes, if you want consistency. Espresso is a ratio of coffee in to espresso out, and you can't repeat or improve a ratio you don't measure. A scale that reads to 0.1 grams lets you weigh the dose and the shot, turning guesswork into a recipe. It's the highest-value espresso accessory you can buy.
What is channeling and how do I stop it?
Channeling is when water bores a path through a weak spot in the puck instead of flowing evenly, giving a shot that's both sour and bitter and often sprays or squirts. Prevent it by distributing the grounds evenly — a WDT tool helps — and tamping flat and level so the whole puck offers even resistance.
How hot should steamed milk be for a latte?
Aim for about 140 to 150 °F (60 to 65 °C) — hot to the touch but not scalding, which is where milk tastes sweetest. Overheating past around 160 °F scorches the milk and flattens its sweetness. Without a thermometer, stop steaming when the pitcher becomes almost too hot to hold.
Sources
Keep reading
Buying your first setup?
See how we pick — compiled specs, cost-per-shot math, and honest trade-offs — then dig into the guides. No fake test lab, no rankings for hire.