How-To Guide
How to Make Pour Over Coffee
Pour over looks like a ritual and is really just a recipe. Four numbers, one bloom, and a pouring pattern you can learn in a single morning.
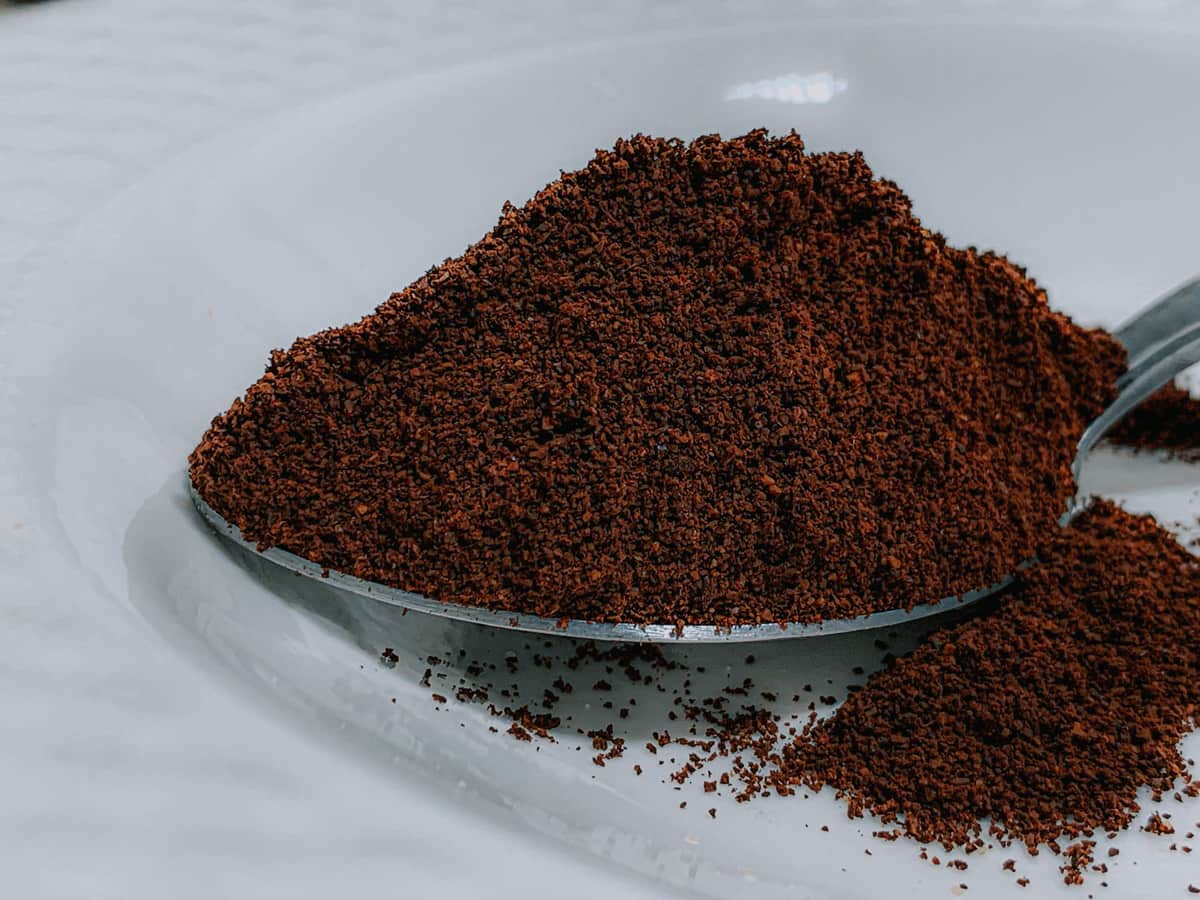
Pour over has an image problem. Watch someone make one in a cafe and it looks like a performance — the swan-necked kettle, the slow spiral, the scale and the timer — and it is easy to conclude this is a hobby with a steep entry fee.
It genuinely isn't. Pour over is a recipe: a ratio, a grind, a temperature and a schedule. Once you have those four things written down, the ritual part is just the physical act of pouring water, and you will be making a clean, sweet, obviously better cup than your drip machine by the end of your first bag of beans. Here is the whole method.
What pour over actually gives you
A pour over is coffee brewed by hand, one cup at a time, through a paper filter in a cone. Two things follow from that, and together they explain the entire appeal.
First, the paper filter traps oils and fine particles, so the cup is clean, bright and transparent— you taste what the bean is actually doing. This is the opposite of a French press, which lets everything through for a heavy, textured cup. Neither is better; they are different drinks. Pour over is the method that shows off an interesting single-origin bean.
Second, you control every variableas it happens — how fast the water goes in, where it lands, how long the whole thing takes. A drip machine makes those choices for you and makes the same choices every time. That control is why pour over rewards attention, and also why it is possible to make a genuinely bad cup, which a pod machine will never let you do.
The four numbers
| Variable | Target | Why |
|---|---|---|
| Ratio | 1:16 (coffee:water, by weight) | The golden-ratio home base — 22 g coffee to 350 g water for one large mug |
| Grind | Medium-fine — like table salt | Fine enough to extract in three minutes, coarse enough to drain |
| Water | 200-205°F / 93-96°C | Just off the boil; boiling water scalds and adds harshness |
| Total time | 2:30 to 3:30 for a single cup | Faster means under-extracted, slower means over-extracted |
Those numbers are the recipe. For one large mug: 22 g of coffee, 350 g of water. Water weighs a gram per milliliter, so 350 g is 350 ml and no conversion is needed. To scale it, multiply your coffee weight by 16 — our coffee-to-water ratio guide covers the math for any batch size.
The method, step by step
- Boil the water— more than you need, since the kettle and the rinse will use some.
- Put the filter in the cone and rinse it thoroughly with hot water, with the cone sitting on your mug or carafe. This washes out the papery taste and preheats everything at the same time. Pour the rinse water away before you brew, or you will dilute the cup.
- Grind 22 g of coffee medium-fineand tip it into the filter. Give the cone a gentle shake to level the bed — an uneven bed is the leading cause of an uneven brew.
- Zero the scale and start the timer.
- Bloom: pour about 50 g of water(roughly twice the coffee weight), just enough to wet all the grounds. Wait 30–45 seconds. See the bloom, explained.
- First main pour: go to about 200 g in slow circles, starting at the center and spiraling outward, stopping short of the paper.
- Second pour: go to 350 g once the bed has drawn down a little. Keep the water level well below the rim.
- Let it drain, and check the clock. The last drips should land somewhere between 2:30 and 3:30 from when you started. Give the cone a gentle swirl as it finishes to settle the bed flat.
The bloom, explained
The bloom is the one step that looks like theater and is actually chemistry. Roasted coffee holds carbon dioxidefrom roasting, and the moment hot water hits it, that gas comes rushing out — which is the bubbling, swelling, foaming you see in the first thirty seconds.
That escaping gas physically pushes water away from the grounds. If you pour your full volume straight onto dry coffee, a lot of that water skates over gas-filled pockets instead of soaking in, and you get an uneven, thin, sour extraction. Wetting the bed first and pausing lets the gas escape, so the rest of your water meets coffee that is ready to give something up.
How much bloom you see is a freshness test. Beans roasted in the last two or three weeks bloom dramatically. Beans that barely move have been sitting long enough to lose most of their CO2— they will still make coffee, but they have already lost much of what made them worth buying.
How to actually pour
Three rules cover it, and none of them require a steady hand as much as people assume.
- Pour slowly and keep the stream thin.This is the whole reason a gooseneck kettle exists — a normal kettle dumps water in a wide, fast gush that blasts a crater in the bed. Slow enough that the water level stays roughly constant is right.
- Spiral from the center outward, then back. The goal is to wet every part of the bed evenly, not to make a pretty pattern.
- Never pour directly onto the paper.Water that hits the filter runs straight down the side without passing through coffee at all — the single most common cause of a weak, sour cup. Stop your spiral about a centimeter short of the edge.
Reading your brew
The clock tells you almost everything. Time the drawdown, taste the cup, and change one variable.
| What happened | What it means | The fix |
|---|---|---|
| Finished under 2:30, tastes sour and thin | Under-extracted — water passed through too fast | Grind finer |
| Took over 4:00, tastes bitter and drying | Over-extracted — water sat too long | Grind coarser |
| Right time, still weak | Ratio problem, not extraction | Use more coffee — move toward 1:15 |
| Water pools and won't drain | Grind is far too fine, or fines have clogged the paper | Grind noticeably coarser |
| Grounds high and dry on the filter wall | Uneven wetting | Pour in tighter spirals; swirl the cone at the end |
Sour and bitter are the two failure modes, and they get opposite fixes — so guessing wrong makes it worse. Sour is under-extraction (grind finer, water hotter); bitter is over-extraction (grind coarser, water cooler). Our guide to why coffee tastes bitter goes deeper on telling them apart, and the grind size chart shows where medium-fine sits.
The gear worth owning
Pour over needs three things beyond coffee, and only one of them is a real purchase decision.
The Hario V60 Ceramic 02is the cone to learn on. Its large single hole and spiral ribs mean the dripper does not control the flow — your pour does, which is exactly what you want while you are learning what changes what. The ceramic version holds heat far better than plastic through a three-minute brew. Our best pour over roundup compares it against the Chemex, Kalita Wave and the flat-bottom alternatives, and Chemex vs V60 covers the choice head to head.
The gooseneck kettle is the one piece of pour-over-specific gear that genuinely changes results rather than just convenience. The narrow spout gives you a slow, aimable stream instead of a gush, and variable temperature control removes the 30-second guessing game. The Cosori is the value pick; our best gooseneck kettle guide covers the step-ups.
Finally, a scale with a timer. Pour over is a recipe, and a recipe you cannot measure is a guess — this is what turns one good cup into the same good cup every morning. The Hario V60 Drip Scale puts weight and elapsed time on one display, which is all you need. See best coffee scale for alternatives.
Prices shown are from Amazon as of October 17, 2026 and change often — the button always goes to the current listing. Some links may earn us a commission at no extra cost to you.
What you do notstrictly need is a dedicated grinder for pour over specifically — but you do need a burr grinder of some kind, because grind consistency is what makes the timing in this recipe mean anything. Our best grinders for pour over guide covers the options at every budget.
Frequently asked questions
What is the ratio for pour over coffee?
About 1:16 by weight — one gram of coffee for every 16 grams (ml) of water. For one large mug that's 22 g of coffee to 350 g of water. Move toward 1:15 for a stronger cup or 1:17 for a lighter one. Because water weighs a gram per milliliter, you can weigh both on the same scale without converting anything.
What grind size is best for pour over?
Medium-fine, roughly the texture of table salt. It needs to be fine enough that water extracts properly in about three minutes, but coarse enough that the bed still drains freely. If your brew finishes under 2:30 and tastes sour, grind finer; if it runs past four minutes and tastes bitter, grind coarser.
Why do you bloom coffee before pouring?
Roasted coffee holds carbon dioxide, and hot water makes it rush out — that's the foaming you see. Escaping gas physically pushes water away from the grounds, so pouring the full volume onto dry coffee gives an uneven, sour extraction. Wetting the bed with about twice the coffee's weight in water and waiting 30-45 seconds lets the gas escape first. How much it blooms is also a good freshness test.
How long should a pour over take?
Between 2:30 and 3:30 from the start of the bloom to the last drips, for a single-cup brew of around 350 g. Time is a diagnostic rather than a target you force: if it consistently finishes too fast, your grind is too coarse, and if it drags past four minutes, your grind is too fine. Adjust the grind, not the pouring speed.
Do I need a gooseneck kettle for pour over?
You can brew without one, but it's the piece of pour-over gear that most changes the result. A standard kettle pours a wide, fast gush that craters the coffee bed and splashes water onto the filter paper, where it bypasses the coffee entirely. A gooseneck gives a slow, aimable stream, and variable-temperature models remove the guesswork about water temperature.
Why is my pour over coffee weak and sour?
Almost always under-extraction. The three usual causes are a grind that's too coarse, water that wasn't hot enough, or pouring onto the filter paper so water runs down the side without passing through the coffee. Grind finer, use water at 200-205°F, and keep your spiral about a centimeter clear of the paper edge.
Sources
Keep reading
Buying your first setup?
See how we pick — compiled specs, cost-per-shot math, and honest trade-offs — then dig into the guides. No fake test lab, no rankings for hire.