How-To
How to Tamp Espresso
Tamping is the most over-thought step in espresso. Level matters enormously; how hard you push barely matters at all. Here is the method, the common mistakes, and the tools that take it off your list.
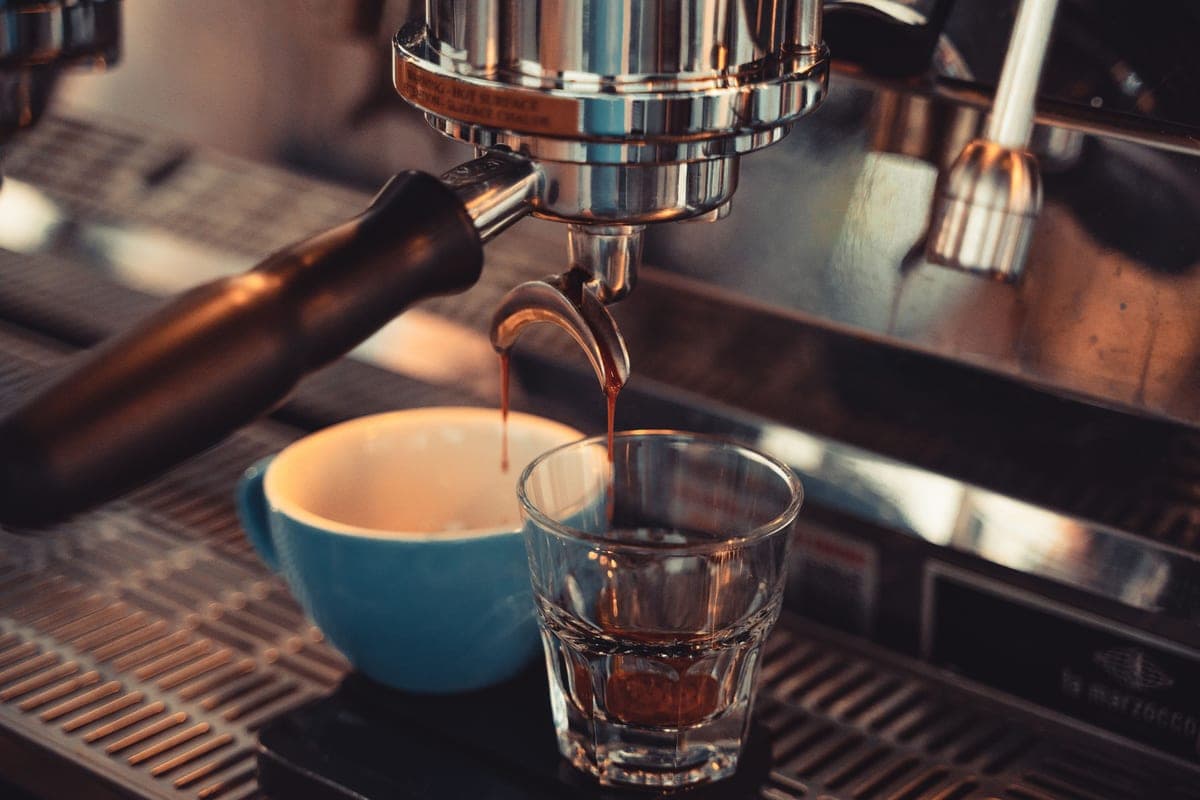
Tamp level, with moderate and consistent force, and stop thinking about it — levelness is what changes the shot, and tamping force is mostly a myth. If you want to take the variable off the table entirely, a calibrated spring-loaded tamper does it in one purchase: the Normcore 58.5mm Tamper V4 clicks when it reaches its set force, and Normcore ships it with 15, 25 and 30 lb springs and a micro-adjustable depth stop. The honest truth, though, is that the cheaper WDT tool below improves more shots than any tamper will.
This guide covers the tamping step in isolation. For the whole sequence — dose, distribute, tamp, lock in, pull — see how to pull an espresso shot.
What tamping actually does
Espresso forces water through a packed bed of coffee at around 9 bar. Water, like anything else, takes the path of least resistance. Tamping compresses the grounds into a bed with uniform density, so that no part of it offers an easier route than any other part. That is the entire job.
Notice what that does not say. The goal is not maximum compression; it is evencompression. A puck tamped hard but on a slant has a thin side and a thick side, and water will pour through the thin side — over-extracting that coffee and barely touching the rest. That is channelling, and it produces a shot that tastes thin and sour with a bitter edge at the same time. A puck tamped gently but perfectly level extracts evenly.
The method, step by step
- Dose into a dry basket.Weigh the dose — 18 g is a sensible starting point for a standard double. A basket with yesterday's moisture in it clumps more. See do I need a scale for espresso for why the weight matters.
- Break up the clumps. Stir a WDT tool, or a straightened paperclip, through the dry grounds in a few small circles. Reach the bottom of the basket, not just the surface.
- Level the bed. Tap the portafilter once on the counter or sweep the surface flat with a finger or a distribution tool. You are aiming for a flat, even surface before any pressure is applied.
- Tamp straight down.Rest the tamper flat on the grounds. Keep your wrist, elbow and shoulder in a vertical line and press down with a steady motion until the grounds stop moving — you will feel them become solid. Hold for a beat. The important word is vertical: a tilted tamper is the single most common cause of channelling.
- Lift straight up, and stop. Do not twist, do not polish, do not tap the side of the basket. Tapping after tamping cracks the puck away from the basket wall and creates a channel at the edge, which is exactly what you spent the last four steps avoiding.
Then lock in and pull immediately. A tamped puck sitting on the counter absorbs ambient moisture and loses nothing by waiting, but you lose heat from the portafilter, which shows up as a sour first shot. Our why is my espresso sour guide covers that failure mode.
How hard should you tamp?
Hard enough that the bed is solid, and then consistently the same every time. The widely repeated "30 pounds" figure is best understood as a ballpark rather than a target — and the useful evidence that it is not a precise requirement is that Normcore ships its calibrated tamper with three different springs: 15, 25 and 30 lb. If one specific force were necessary, a tamper manufacturer would not offer you a choice of three.
What actually happens physically is this: once the coffee bed stops compressing, additional force does almost nothing except compress your wrist. Past that point you are not making the puck denser; you are making your mornings worse. The two things that do change the shot are:
- Levelness. Covered above. This is the whole game.
- Consistency. If you tamp lightly on Monday and heavily on Tuesday, your shot time changes and you will blame the grinder. Pick a force that feels firm, repeat it, and let grind size be the variable you adjust.
The four common mistakes
- Tamping at an angle. The big one. Get your forearm vertically above the basket; if you tamp with the portafilter on a counter and your elbow out to the side, the puck will be wedge-shaped.
- Tapping the side after tamping. A habit inherited from old cafe technique. It breaks the seal between puck and basket wall and invites edge channelling. Tap before you tamp, never after.
- Tamping instead of distributing. A tamp cannot fix a clump; it embeds it. If you only do one of the two, do the distribution.
- A tamper that does not match the basket. A 58.5 mm tamper in a 58 mm basket leaves almost no gap, which is the point; a 53 mm tamper in a 54 mm basket leaves an unpacked ring around the edge for water to run down. Our portafilter size guide lists the sizes by machine.
How to tamp without a tamper
You can, and for a first week it is fine. The requirement is a flat, rigid object slightly smaller than the basket:
- The tamper that came with the machine. Most entry machines include a small plastic one, often moulded into the end of the scoop. It is undersized and flexible, but it is flat, and used carefully it works.
- A spice jar or small glass with a flat base of roughly the right diameter. Check it sits flat on the grounds rather than rocking.
- Nothing at all, on a pressurised basket. If your machine has a pressurised basket, the restrictor generates the pressure rather than the puck, so puck prep matters far less. Our pressurised vs non-pressurised portafilter guide explains why — this is also why machines like the De'Longhi Stilosa are forgiving with imprecise technique.
What you cannot substitute is levelness. A flat improvised tamper used vertically beats an expensive one used at an angle.
Tools that remove the variable
Normcore 58.5mm Spring-Loaded Tamper V4 — who it is for:anyone whose shot times drift for no obvious reason. It is spring-loaded: you press until it clicks, which applies the same force every time and takes the guesswork out. Three interchangeable springs (light, medium, firm — 15, 25 and 30 lb) and a micro-adjustable depth stop, on a stainless base.
| Base diameter | 58.5 mm |
|---|---|
| Fits | 58 mm portafilters |
| Pressure | Calibrated, spring-loaded (clicks) |
| Springs | 3 interchangeable (15 / 25 / 30 lb) |
| Depth | Micro-adjustable |
| Base material | Stainless steel |
The honest cons: it is 58 mm only, so Breville 54 mm and De'Longhi 51 mm owners need a different size. The depth stop needs setting for your dose and resetting if you change dose. And it solves consistency, not levelness — you can still click a calibrated tamper in at an angle.
Normcore 58.5mm Distribution Tool — who it is for: anyone who cannot reliably get a flat bed by hand. It is a spinning leveller with adjustable depth: set it to your dose, rest it on the grounds, give it a couple of turns, and the surface is flat before the tamper touches it.
| Diameter | 58.5 mm |
|---|---|
| Fits | 58 mm portafilters |
| Type | Spinning leveller / distributor |
| Depth | Adjustable |
| Material | Stainless steel |
The honest cons: it levels the surface without breaking up clumps underneath, so it is a complement to a WDT tool rather than a replacement. The depth needs re-setting when your dose changes. And it adds a step and a thing to wash.
Normcore WDT Tool V3 — who it is for: everyone, before they buy anything else on this page. 0.35 mm stainless needles used inside the basket to break up clumps and distribute grounds, with a stand. It works in any basket size, which the 58 mm tools above do not.
| Needles | 0.35 mm stainless steel |
|---|---|
| Job | Break up clumps, distribute grounds |
| Includes | Stand / holder |
| Fits | Any basket size (used inside the basket) |
The honest cons: the fine needles bend if you are rough with them, and it adds a step to every single shot. Our best WDT tools guide covers the alternatives.
54mm Bottomless Portafilter — who it is for: anyone who wants to know whether their tamp is actually working. A naked portafilter removes the spout so you watch the underside of the puck as the shot runs: an even, honey-coloured stream means an even bed, while a jet shooting off to one side is channelling you can now see and fix. This one is listed as fitting the Breville Barista models and the Bambino Plus.
| Size | 54 mm |
|---|---|
| Fits | Breville Barista models and Bambino Plus (per listing) |
| Type | Bottomless / naked portafilter |
| Use | Diagnose channelling, improve technique |
The honest cons: it sprays coffee across the kitchen while you are learning, there is no spout so you cannot split a shot into two cups, and you need the right diameter for your machine. Our bottomless portafilter guide has the 58 mm options. You will also want a knock boxwithin reach once you start pulling shots at this pace — wet pucks and a kitchen bin do not mix.
At a glance
| Tool | What it fixes | Fits | Price |
|---|---|---|---|
| Normcore Tamper V4 | Inconsistent tamping force | 58 mm | $42.99Buy |
| Normcore Distribution Tool | An uneven surface | 58 mm | $39.99Buy |
| Normcore WDT Tool V3 | Clumps under the surface | Any basket | $32.69Buy |
| 54mm Bottomless Portafilter | Not knowing if it worked | Breville 54 mm | $39.99Buy |
Prices shown are from Amazon as of October 5, 2026 and change often — the button always goes to the current listing. Some links may earn us a commission at no extra cost to you.
If you are buying one thing, buy the WDT tool. Our best espresso tampers roundup covers the wider field.
What to fix after tamping
Tamping is a small lever. Once it is level and consistent, the variables that actually move your coffee are, in order:
- Grind size.The main control. Finer slows the shot, coarser speeds it up — see grind size chart and best espresso grinders under $200.
- Dose and yield. Roughly 1:2 by weight is the starting ratio; coffee-to-water ratio has the numbers.
- Bean freshness. Everything above is downstream of this — how to store coffee beans.
- Machine cleanliness. A dirty group and basket add bitterness no technique removes: how to clean an espresso machine.
Frequently asked questions
How hard should you tamp espresso?
Firmly enough that the coffee bed stops compressing, then the same amount every time. There is no single correct force - the best evidence is that Normcore ships its calibrated tamper with three different springs (15, 25 and 30 lb), which a manufacturer would not do if one specific force were required. Levelness and consistency change the shot; extra force past the point of compaction does almost nothing.
Does tamping pressure affect espresso taste?
Far less than people think, as long as it is consistent. What genuinely affects taste is whether the puck is evenly dense: a bed tamped hard but on a slant has a thin side that water runs through, which over-extracts that coffee and under-extracts the rest. That is channelling, and it tastes thin and sour with a bitter edge at once.
How do you tamp espresso without a tamper?
Use any flat, rigid object slightly smaller than the basket - the plastic tamper that came with the machine, or a spice jar with a flat base of roughly the right diameter. Check it sits flat rather than rocking, and press straight down. What you cannot substitute is levelness: an improvised tamper used vertically beats an expensive one used at an angle.
Should you tap the portafilter after tamping?
No. Tapping the side of the basket after you tamp breaks the seal between the puck and the basket wall, which creates a channel right at the edge for water to run down. Tap or settle the grounds before you tamp, never after, and lift the tamper straight up without twisting.
Do I need to tamp if my machine has a pressurised basket?
Much less carefully. A pressurised basket generates the back pressure through a restrictor rather than relying on the puck's own resistance, which is why machines with them are forgiving about dose and technique. A level, moderate tamp is still good practice, but precision there buys you far less than it would on a single-wall basket.
What is more important - tamping or distribution?
Distribution. A tamp cannot fix a clump of grounds; it presses it into the bed, where it becomes a dense spot water flows around. Breaking up the grounds with a WDT tool before tamping improves more shots per dollar than any tamper upgrade, and it works in every basket size.
Sources
- Normcore - Spring-Loaded Tamper V4 product page (58.5 mm base, calibrated spring with 3 interchangeable springs, micro-adjustable depth)
- Normcore - Distribution Tool and WDT Tool V3 product pages (58.5 mm leveller, 0.35 mm needles, included stand)
- Specialty Coffee Association - espresso extraction and puck preparation fundamentals
- National Coffee Association - espresso brewing basics
- Breville - Barista and Bambino portafilter sizing (54 mm) specifications
- Amazon product listing for the 54mm bottomless portafilter - stated machine fitment
Keep reading
Buying your first setup?
See how we pick — compiled specs, cost-per-shot math, and honest trade-offs — then dig into the guides. No fake test lab, no rankings for hire.